December 31, 2024
Planning a commercial office fit-out can feel overwhelming, but with the right approach, it can be a rewarding process that...

Planning a commercial office fit-out can feel overwhelming, but with the right approach, it can be a rewarding process that...
The way we work is evolving, and so is the design of our workspaces. As businesses adapt to hybrid models,...

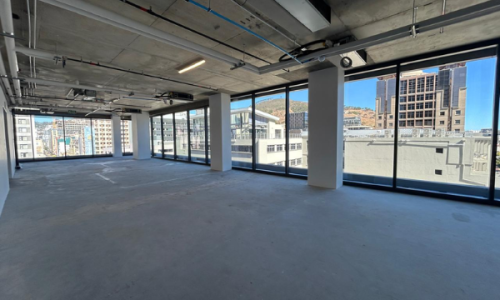
If you are searching for offices to rent in Century City, you are looking at one of the most practical...
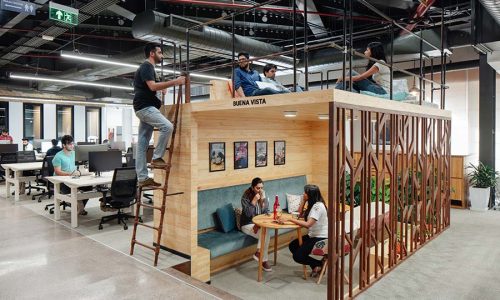
Office interior design and layouts have come a long way from the typical cubicles and sterile spaces of the past....

Will We Return To The Office After COVID-19 Covid-19 has forced the adoption of new ways of working. Business needs...

What is Space Planning, why is it important for my business? Well space planning is quite an important part of...